Pages

Monday, February 24, 2014

Anise Day 4...Halfway there!

It is so exciting to think that I am halfway through this coat.  One of the things I love most about having this companion sewing guide from Colette Patterns is having something to keep me on task. In addition to keeping myself on the ball it makes the end result seem ever more attainable.  I think that in the future I may try to break all my projects up into parts that coordinate to days.  It's just making me feel so inspired to keep up the good work.

Now back to Day 4.  Here were the tasks I had to accomplish on the fourth day of my self-imposed Anise challenge.

Day 4:
  1. Create bound buttonholes ***This was considered "optional" but they are gorgeous so of course I took the option.
  2. Stitch the darts.
  3. Sew the back pieces together.
  4. Sew the front and the back at the shoulders.
I love bound buttonholes, though they do take considerably more time than machined buttonholes but they just look so polished and couture. 

First thing was to mark out the space for the buttonholes on the left front and facing pieces.  As you may be able to see I marked them incorrectly the first time and remarked them in orange. You can't see it in this photo but I had to move the left four buttonholes again, I had set them too far to the left.


The next step is to take 2 1/2" X 3" squares of the face fabric and interfacing, mark them to the same size as the buttonholes, and then pin them to match the marked spaces on the coat fronts.


I next cut the buttonholes open using an Exacto knife.  I like an razor for this rather than scissors. I feel as though it allows me to cute through many layers easily.


Tragically it seams I forgot to take a picture of the buttonholes before I turned them to the inside. Once I did turn them I folded, pressed, and stitched them to the seam allowance.


What happens to the interfacings on the front facing pieces is the coolest thing I've learned yet. After I stitched the interfacing to the front of the facing and turned it to the inside I pressed them to the back side of the fabric.  this was so cool and created a nice clean edge to stitch to the back of the buttonholes.


Then I stitched up the darts at the back of the neck edge.


I left the tails at the end of the dart long and rather than backstitching I square knotted the tails and clipped them.

I pressed the darts to the the center back of the piece.  I always remember direction to press the darts by a saying from my favorite professor, "Down and in makes you look thin".  It means that you press all your darts down towards the waist or in towards the center of the garment.


To make the sewing up of the side back seams easier I clipped the curves ahead of time.


I pinned the pieces together and stitched them up.


 I then pressed the seams open over my tailor's' ham.


Lastly on the list for day four I stitched the shoulder seams together and then pressed them open.


In my Day 4 sewing I had some wonderful moral support. Here's to an awesome wife and a wicked great puppies who know the value of relaxing.  To my wife, in the words of the most joyful figure skater on blades, "Thank you So MUCH!"

Saturday, February 22, 2014

Anise Day 3.5

Alright, so finally I am done with Day 3 in the Anise companion.  This whole having a full time job and responsibilities thing is really getting in the way of my personal projects.  I feel like I always underestimate the time cutting is going to take me.  It seems so simple, lay the pattern on the fabric and cut.  But when there are four different types of material and lots of marks to transfer, it can get a little time consuming.

One of the first I have to say that I am loving about this endeavor is that I am working with materials that I haven't had a lot of experience with.  I really like this weft interfacing.  Weft is a combination of a woven and knit processes.  In it's current iteration it is giving my Anise coat front a little more body and shaping my collar.  Hooray for a shapely collar.

 This is a close up of the weft interfacing. 

A great aspect of having fusible interfacings on dark fabric is that you can transfer your markings to the interfacing and it makes them easier to see.


Another thing this project has that is new for me is a muslin underlining.  What you do with this muslin is you stitch it to its coordinating fabric pieces cut in the main fabric in the seam allowance.  This also helps to add structure to the coat.  One thing that the companion says to do is to cut out the darts in the muslin to reduce bulk.  Literally you just follow the lines and cut them away.  I will admit that I was nervous, but I went for it!


Once I had cut everything then I went ahead and ironed the weft interfacing to their coordinating parts.


This next part was really cool to me.  We cut an extra piece of weft in the space between the roll line and the seam allowance.  This makes the stand of the collar much more firm and made pressing the roll edge very easy.


I used my dress form to get a good shape on the collar. This was one of those moments in a sewing project where you see a little glimpse of the end product and I got really excited.


This part was admittedly a little bit of a pain in the ass.  I had to pin the layers of main fabric and underlining together and then stitch them within the seam allowance.  On the smaller side back pieces it was easy to make sure they were very well lined up, the larger pieces didn't go as perfectly, but they'll work.


 Little close on the awesomeness of being able to mark a light colored underlining and better see the markings!

Day 3, admittedly the one of the longest "days" in blogging history.  I am excited to move on to Day 4. hopefully without a Day 4.5.

Wednesday, February 19, 2014

Mad Men Challenge

I know I am supposed to be posting about Day 3.5 of my personal Anise challenge. However my work life is complicating my sewing life, but I could not have my sewing life without my work life. Once again I got home late and was left with minimal time to continue.  What I wouldn't give for eight days straight with no work and all personal projects.  I did finish cutting everything, all I have left is fusing the interfacings and stitching the underlinings on.  I imagine that will happen tomorrow evening after work.  I have high hopes.

I just wanted to write a quick blurb before bed to plug Julia Bobbin's Mad Men Challenge.  This is the third installment of the Mad Men Challenge inspired by AMC's hit show Mad Men.  I will admit that I have only watched the first season of the show but the clothes were always stunning!

I have seen the results of the last two challenges but I always seem to miss the beginning.  Not this year! This year I am on the front lines!  I have seen a lot of things that I really love from the costumes on the show, but I have to say that my fashion inspiration is definitely Joan! She's hot, curvy, she also walks with sass and attitude.  I gotta do it!

Now here's the chink in my chain when it comes to this challenge.  I want to make something that I will wear a lot and a good deal of Joan's wardrobe might not function for me on the day to day. For me it is going to come down to fit.  I can't have something quite as tight as Joan may wear. The costume designer just really knows how to highlight her finer points and as we share similar features I thought I might do the same for myself.

I have found two of her costumes in particular that speak to me.


I am just in love with this suit.  The ruching at the center front in combination with the droopy bow is amazing.  I also love that the fabric from the shell underneath it all is the facing on the turn back cuff.  Knowing what I know about vintage sewing and details, I bet that same fabric is also the lining!  I bet that slides on ever so nice.


This garment for me is probably the more functional of the two in terms of day to day wear.  I evokes for me some of the wearability of a 1940's shirt dress, only with the sex appeal turned up to eleven.  I really have a love for covered buttons and I think the collar is wonderful.  Plus the knotted scarf at the center front of the neck edge is really playful and draws your eyes to all the right places.

From color to cut I just think these outfits are great.  What I particularly want to focus on in creating this look is vintage sewing details.  I love the idea of really entrenching myself in bound button holes, covered buttons and hand sewn hems. Which one d you like best?  

My friend Rachel and I are going to endeavor to climb this mountain together and I hope that will make getting a flawless fit a little easier.  While I can do a lot with a stack of pins and a quality mirror, nothing beats an extra set of hands.

Are you inspired by the fashions of Mad Men?  Will you be joining this amazing challenge? Write a comment telling me which character inspires you, and what you love about vintage styles from the 50's, 60's, and 70's.

Tuesday, February 18, 2014

Anise Day 3...Kind Of

Alright, so here it is, already I am falling down on the challenge.  I worked late today and then had to brave the grocery store, clean my kitchen, and feed myself.  Day three seemed void of any actual semblance of daytime.

Day 3:

  1. Cut out all your pieces
  2. Apply your interfacing
  3. Stitch your underlining to your jacket pieces.
While the list is seemingly shorter than yesterday it is deceptive.  There are four different types of material just to cut! That is crazy! You have to cut the interfacing, the muslin underlining, the lining, and the main fabric.  I can tell you, its alot.

So sadly I must disappoint and tell you that I have only cut my interfacing and muslin.  Tomorrow will be Day 3.5 and I will finish the steps for Day 3. It must be said that I think they probably meant more time than the two hours before go to sleep when they said Day 3.

To make up for not finishing my mission I will enclose a picture of the cutest puppy ever.  This is Figaro when he was just 4 months old:


Just look at that little face and try not to have a good night.  I dare you.  Till tomorrow!

Monday, February 17, 2014

Anise Day 2...

I'm still excited and proceeding down the path toward my beautiful Anise.  Following along with the sewing companion I am moving on to the steps for day two.

Day 2:

  1. Choose your size
  2. Cut out your paper pattern
  3. Cut the main pattern pieces from your muslin
  4. Machine baste your test version
  5. Determine fitting changes if necessary
  6. Alter your pattern
Here we go, lets roll into Day 2!

1) Choose your size

The first of these steps, Choosing your size, is always a little tricky for me.  I like my garments to be very fitted and to hug my shape.  As many of you have seen some of my previous post you will know that I am in no way a waif.  I would describe myself using the German word saftig, which literally translates to "Juicy".  My size mostly fits the size 12, but I was waffling, wondering whether or not I should make the 14.  I consulted the Threads sewing guide on google books, specifically the section called, Designing Ease.  It was consulting this guide which encouraged me to sew the size 14 to allow for what they call a semi-fitted jacket.  This means 4.25"-5.75"inches of ease. On the back of the pattern the finished bust measurement is printed.  Based on how it correlated to my own bust measurement I landed on the size 14.

2) Cut our your paper pattern

This is another instance where I convince myself that I need to make a simple task more work.  I do not like cutting out a tissue pattern. I don't like that if I cut a size 14 I then lose access to the other sizes.  So as a result I always trace my patterns to brown paper and then store my patterns pieces in letter sized envelopes labeled with the size I made.  I also write whether or not I made changes to the original pattern and note if I have noted the changes on the pattern itself.


For my pattern paper I just use plain old brown paper that I get at the hardware store in the pain section. It is a whole heck of a lot cheaper than buying expensive paper specifically made to be for patterning. A huge roll of it is under $10.  I go through the stuff like it's going out of style, cause I love patterning, glad it's cheap.

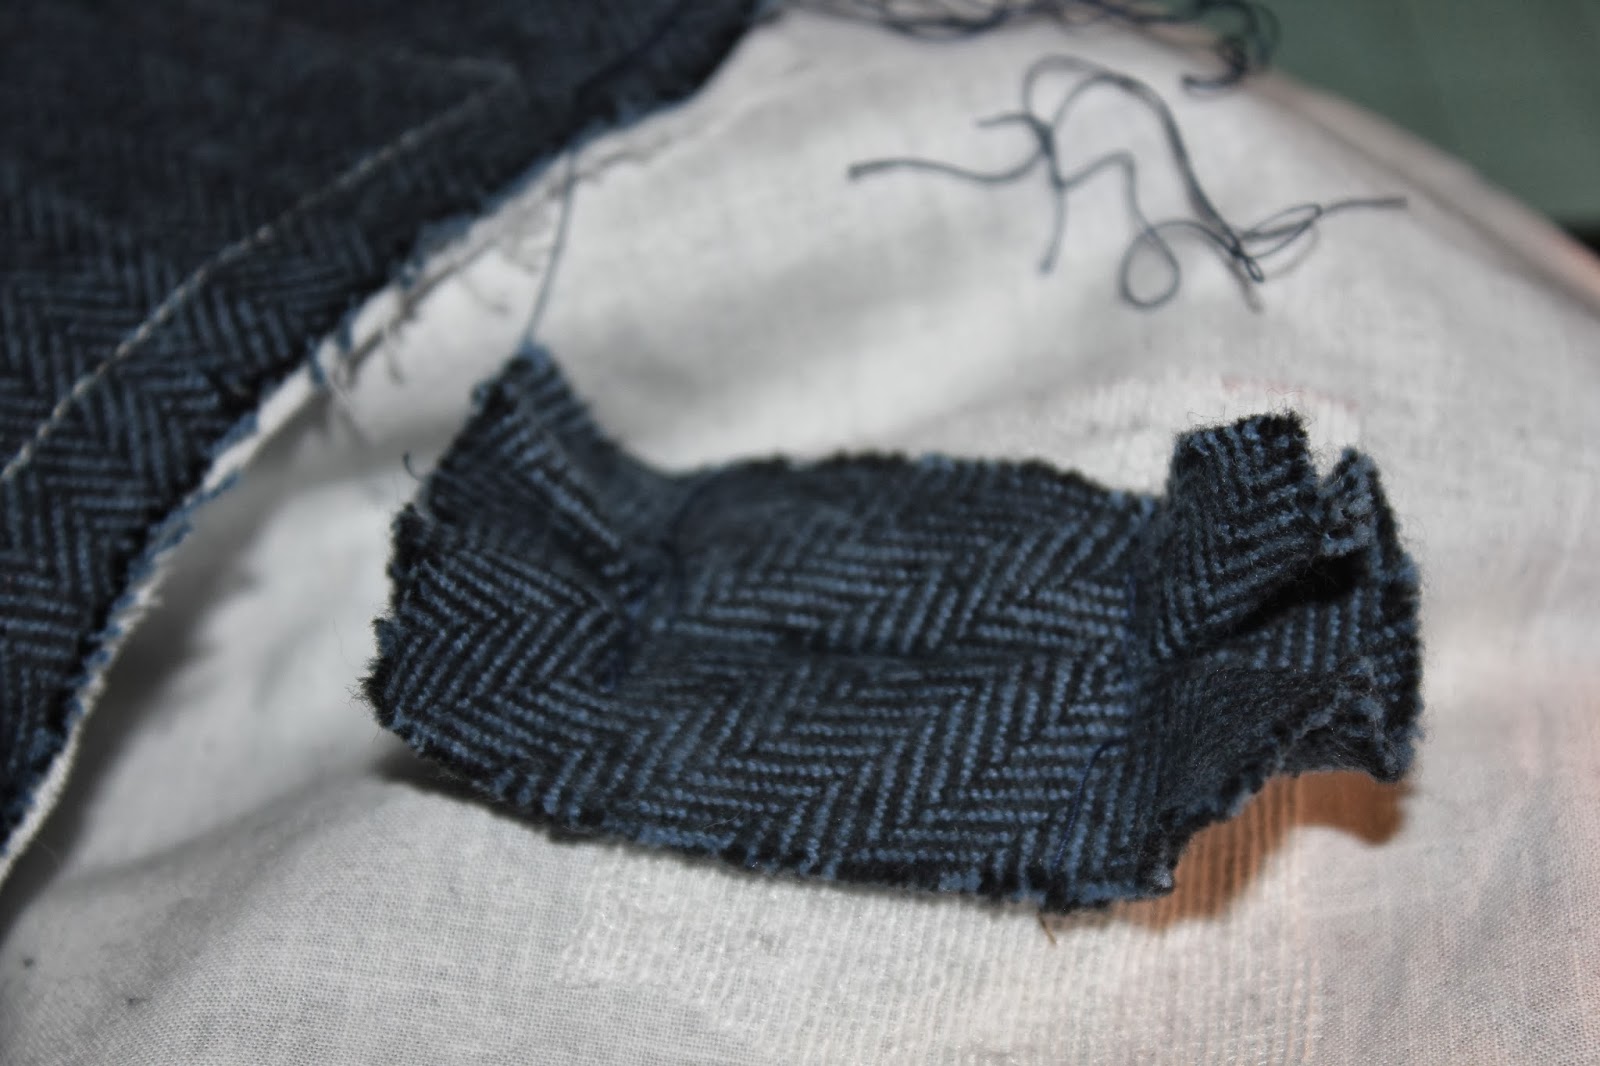
3) Cut the main pattern pieces from your muslin

I did not have any muslin, OH NO! While this sounds like a disaster, it is not.  I have collected a great deal of fabric over the years and sometimes I have not ended up using it for an actual garment.  I doubt I'm the only one, but I have bought fabric without specific intent, then not used it, and slightly regretted the purchase.  It is times like these that has allowed me to redeem the eyesores and make them into muslins.

For this step I cut:

  • Undercollar
  • Jacket Front
  • Jacket Back
  • Jacket Side Back
  • Upper Sleeve
  • Lower Sleeve


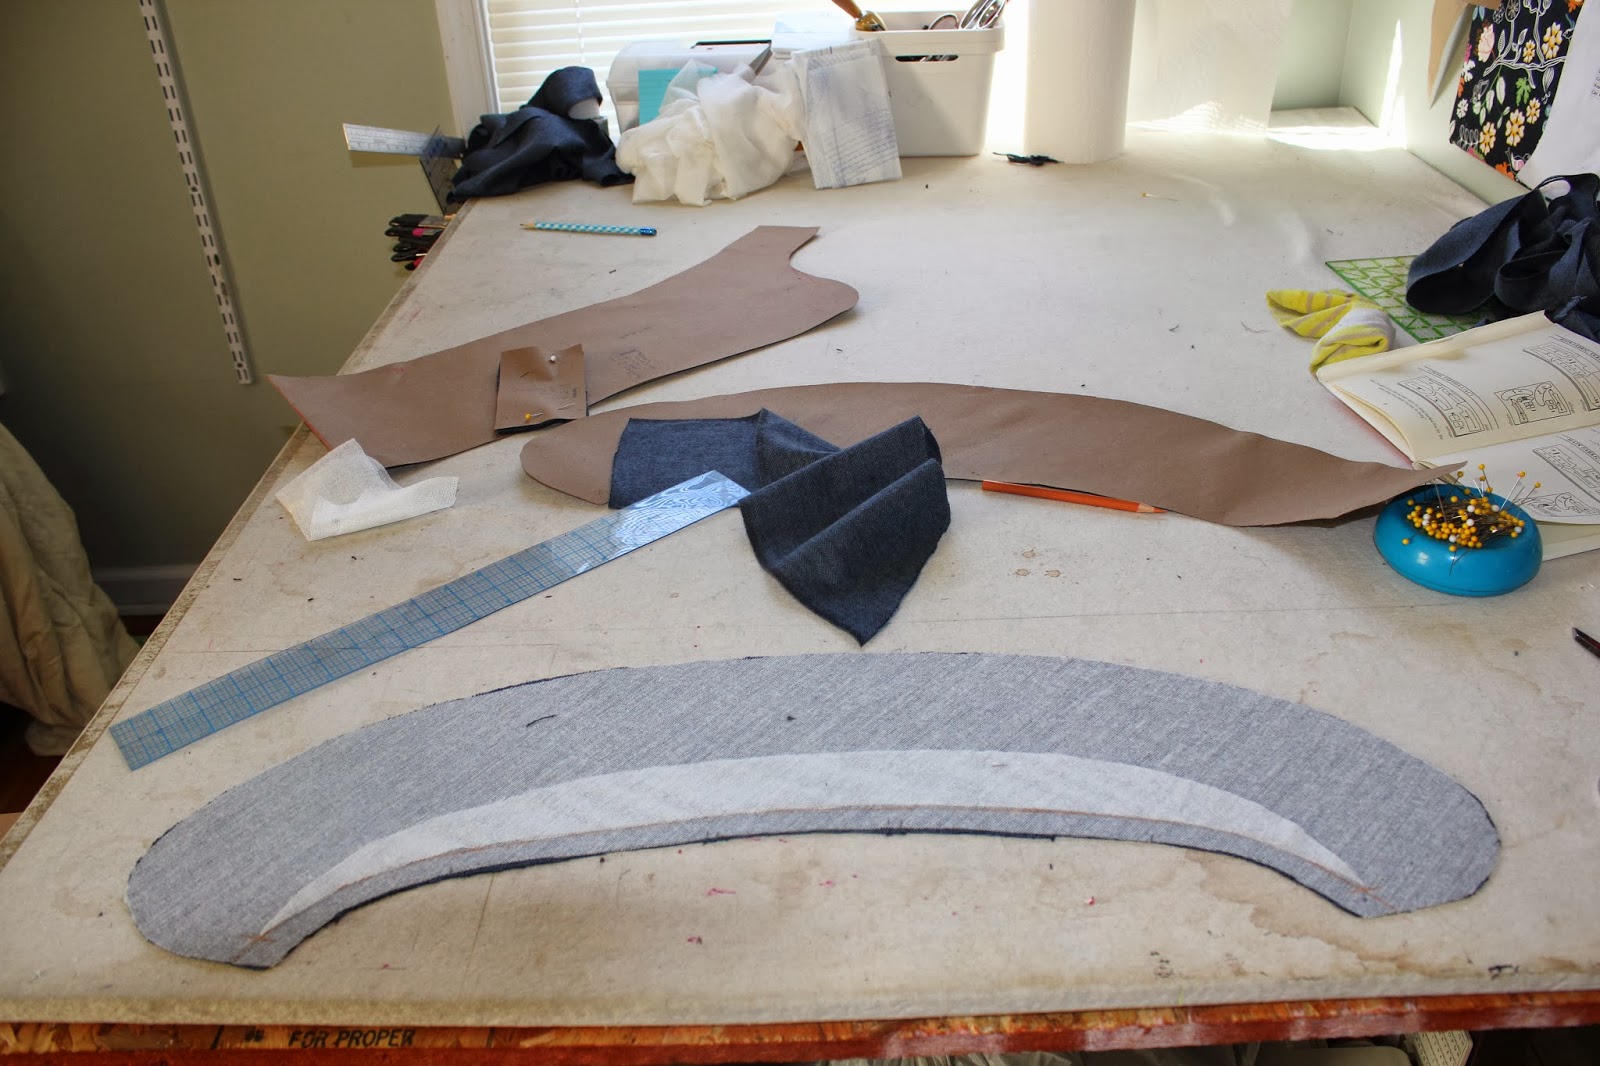
4) Machine baste your test version

Without a whole lot of exposition, here is my basted together test version:


I will say that using this fabric was a little distracting, but I didn't have to buy anything, so I am going to let that go and just look past it. 

5) Determine fitting changes if necessary

I like the straight size 14 fit for the most part.  I found it a little tight through the bust so I am going to do a large bust adjustment.  I know you're all shocked! I'm busty what can you do.  I will say that the sleeves feel a little roomy, not so much in the cap, but definitely in the arm.  Having given this some thought, I am going to leave it roomy.  My reason for this is that with the thicker fabric and linings it's going to get a little smaller.  I'm going to let it ride. 

Very often in my sewing I do something that my former teachers and the students I've taught would cringe at, I cut corners.  I'll admit it, I do. Why you might ask? Well because I have an occasionally short attention span and enjoy instant or close to instant gratification.  Plus on top of all of that I run a home, my dogs and wife need me.  On this project however I have decided to minimize my shortcuts because I am sharing it with all of you and because I am hoping that I will want to wear this jacket a lot. If it is tight and uncomfy I will not want to do that.  

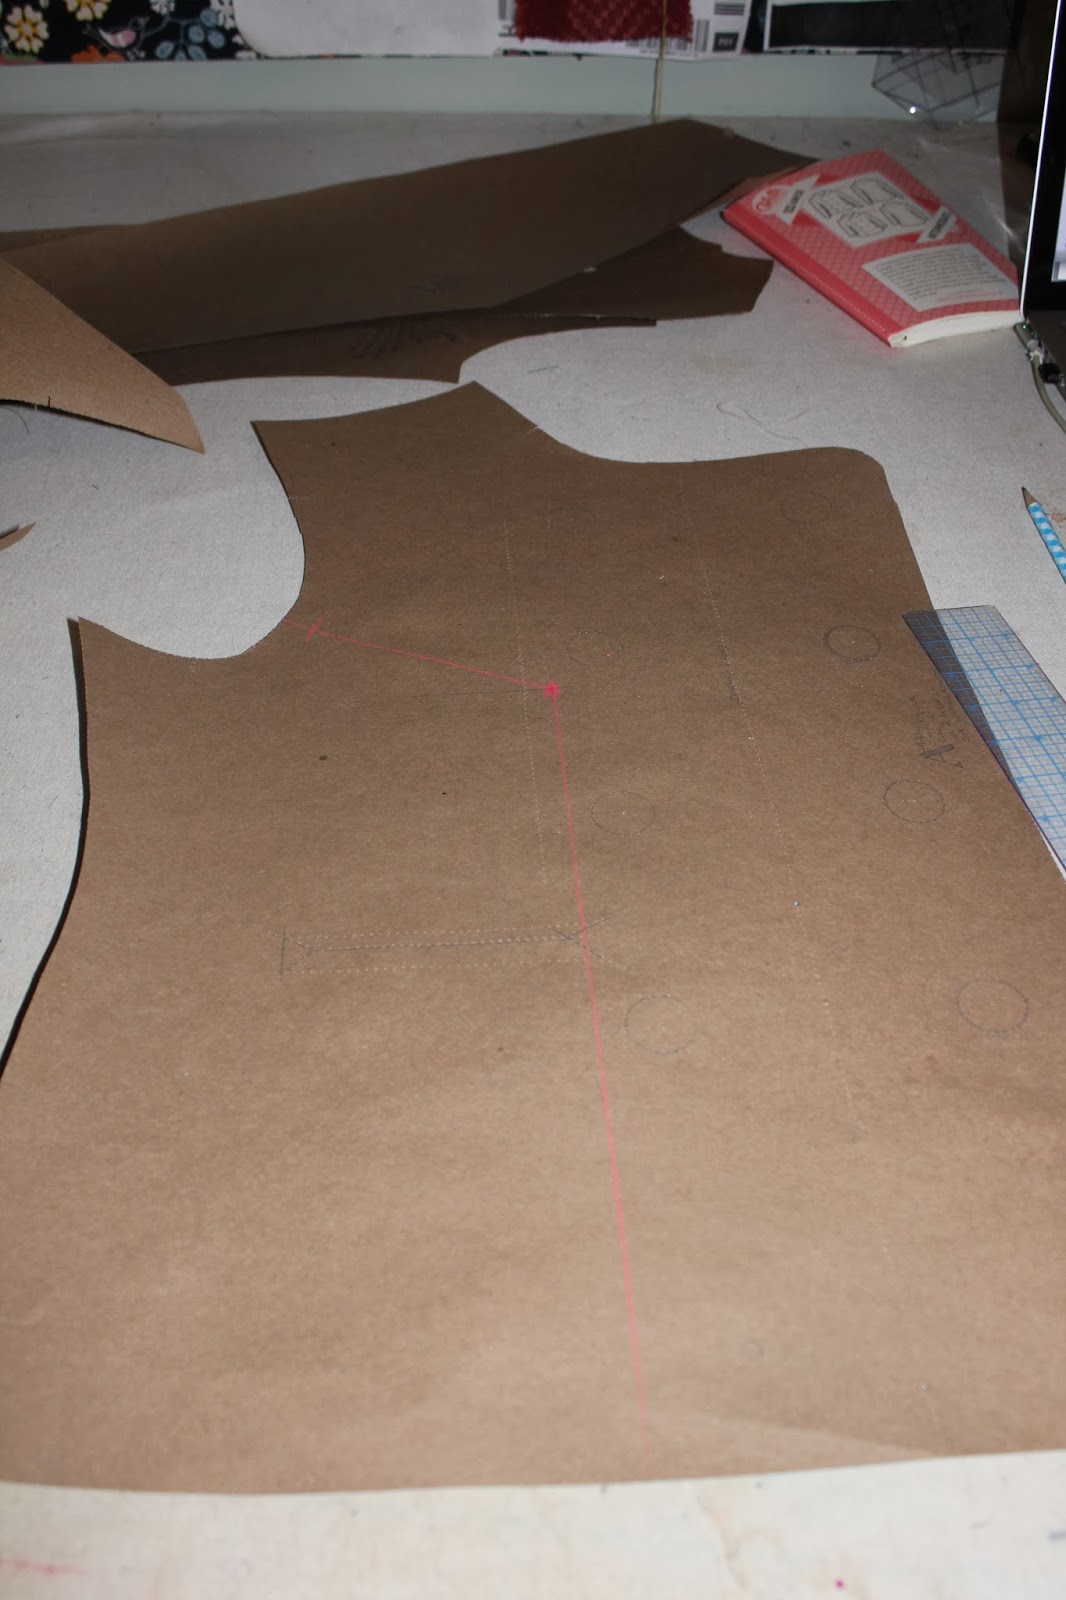
6) Alter your pattern

To make the large bust adjustment one has to perform a lot of slashing and spreading through the bust point. to find my bust point I literally held my pattern up to myself and marked the pattern where it fell over my point.  I've starred the point here:


Looking at your pattern you then want to find the balance point on the armscye. Draw a line connecting the balance point to the bust point and a second line parallel to the CF line from the bust point to the hem.


I am an idiot who sometimes does not read all the directions.  Thinking I was done marking I went ahead and cut this line up until the seam allowance at the armscye.


I was however not done and I had to draw a line from the bust point horizontally to the side seam. Then I cut from the side seam to within 5/8" of the bust point.


***I should also note that I mismarked the pocket when I thought I was done with the alterations and so that dark green pocket is wrong. You do however have to move and remark the pocket and buttons as the spacing gets off when you slash and spread.

Next I split the right side of the pattern horizontally at the pocket so that the hem of the left side  would once again match up with the right side. This is the bodice lining but I split it the same as I did on the jacket front.  I did this because when you alter the exterior you must also alter the interior.


Now the companion guide suggests that you should also alter the center back and side back panels. You would do this so that the jacket front and back will be the same length.  Being a corner cutter I just shortened the front pieces the same amount which I had increased them with the slashing and spreading.  

*Day 2 Steps Completed*

With all of these steps done I am relieved.  Tomorrow I get to cut fabric, hooray! I can definitely see the benefit to making these adjustments but sometimes having a large heaving bosom can be quite a bother. 

Per usual I had some help around the studio:
Sophie sleeping like the angel she is on her dog bed.

The double dummies (the DDs) sleeping on top of Deb

Then there was the big boy, Orson, positively the most precious thing I've seen in a while!


Gotta love a big dog snuggling a toy.

Tomorrow I will move into Day three with my newly altered patterns.  Looking forward to the steps for tomorrow because after that some of the real fun sewing will start on day 4.  The final candid is me and the cat as I sit here typing.  Catch you tomorrow!